If you need to download all course files (pdf, Microsoft office documents…) it could be helpful for you to know that a lot of people seems to be looking for a solution to that issue but there seems to be not a simple way to accomplish it.
A solution could be to back-up the course and automatically extract the files using a Jar file that an user of the Moodle community programmed: have a look to Veronica’s post in this thread
The Moodle administrator can configure the “Default messages output” for the whole site under “Site administration”—Plugins—Message outputs– Manage message outputs, as bellow:
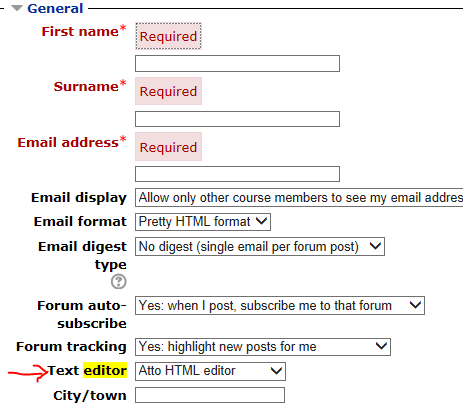
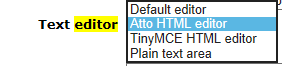
Moodle users will, as well, be able to configure the “notification methods for incoming messages” by clicking in “Messaging” under their profile:
Uploaded to Youtube by Linn-Benton Community College
As well, users will be able to configure the “Email digest type” when editing their profile settings as below:
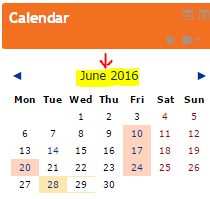
1.Click the month on the Calendar to get an expanded month view
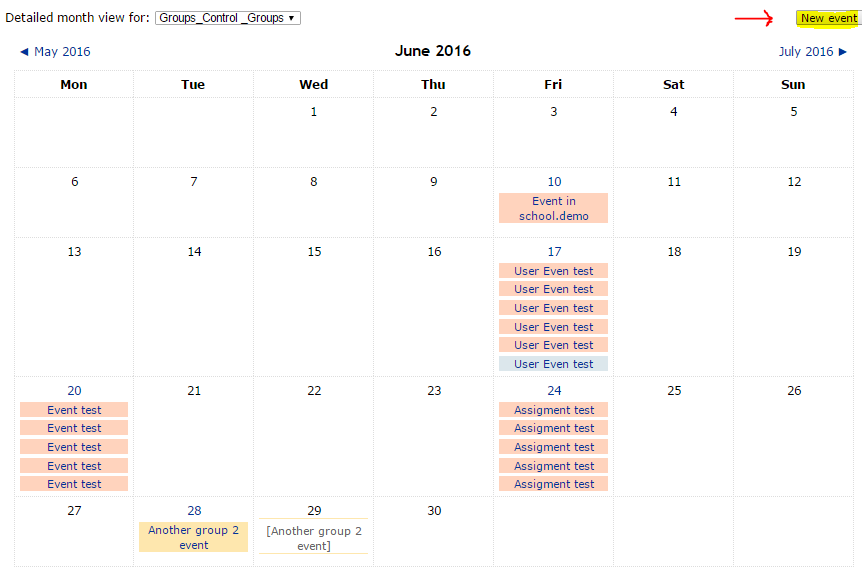
2.In Calendar view click the “New Event” button
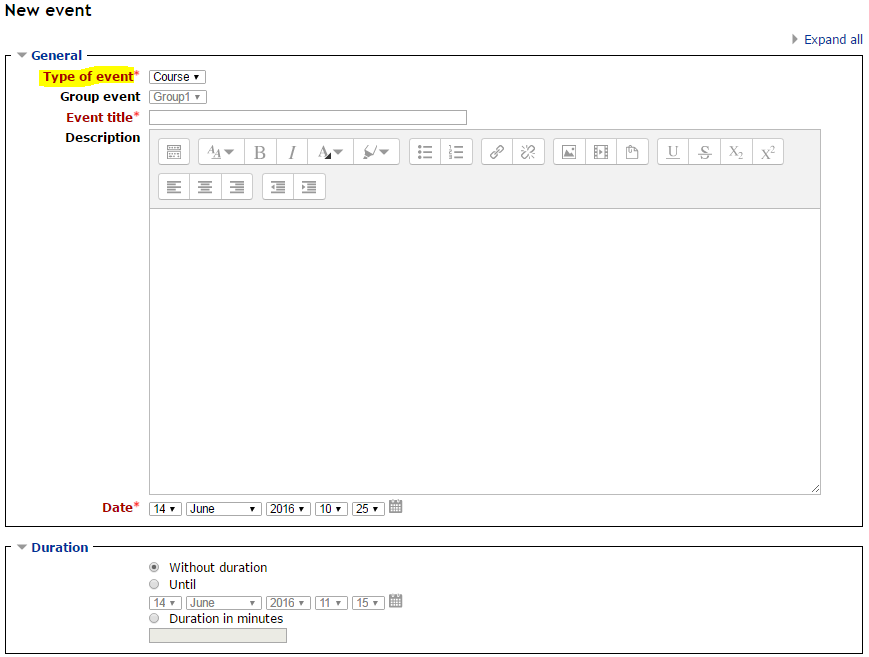
On a ‘New Event page’ select the type of event
1.A User Event will only be visible by the user currently logged in (i.e. the one creating the event)
2.A Course Event will be visible to participants on the course in question. Only users with the capability to manage calendar entries at the course level can add course events.
3.A Site Event is a “global” event – visible in every course and on the calendar on the home page. Only users with the capability to manage calendar entries at the
You need to take into consideration the next:
1.Just the Moodle administrator at a system level can add site events.
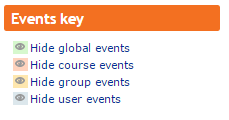
2.The different types of events can be visually filtered by teachers and students
3.Adding closing dates to course activities — assignments, quizzes etc. will cause them to show up in the calendar block as course events.
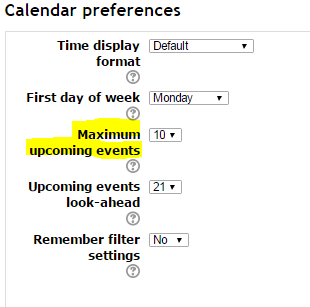
Number of Upcoming Events in the ‘Upcoming Events block’
To set the number of upcoming events you will be able to find a setting when clicking in ‘Preferences’.
The number of events and days in advance is determined by the calendar_lookahead
The number of eventsand look-ahead has a setting in ‘Preferences’ on the student page
At an administrator level, the default number of
events and other preferences can be set in the ‘Maximum upcoming events’
setting inSite Administration > Appearance > Calendar.
If the Upcoming Events block becomes too long you can reduce the number of days and events to lookahead.
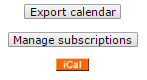
Calendar export
Integrating the Moodle Calendar with google calendar
In Google Calendar’s “Other calendars” menu, choose “Add by URL” and supply the URL generated in the process described above.
The Google calendar will update when making changes in the Moodle calendar but it will take several hours.
Uploaded to Youtube by Chicago State University
Please write your comments below… Integrating the Moodle Calendar with iCal
Uploaded to Youtube by Chicago lynda.com
Integrating the Moodle Calendar with Outlook
Uploaded to Youtube by Chicago lynda.com
Import Calendars
Click the button “Manage Subscriptions”, fill up the required fields and click “Add”
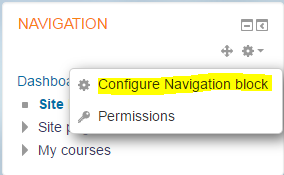
To hide this link under the Navigation block you can alter the Moodle code as described here or you can just select ‘Categories and courses‘ in the setting ‘Generate navigation for the following‘ when editing the configuration for the Navigation block (See bellow screenshot)
You can make blocks sticky at different levels in Moodle:
Sitewide
Homepage
Category
Course
Activity/Resource
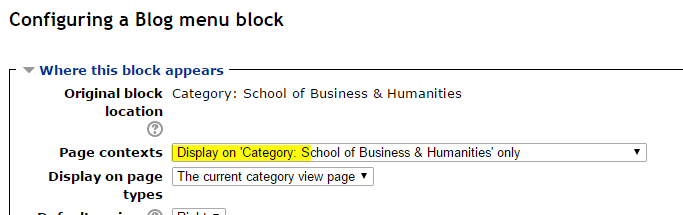
To make a block sticky in a category you just need to navigate to the category and add the block, once added you need to “configure the blog” and in “Page context” choose
Note: To delete a block completely, in addition to uninstalling it on the blocks page, you also need to remove/delete the actual block folder from the moodle/blocks folder, otherwise Moodle will reinstall it next time you access the site administration.
Screen readers just read the text in the Moodle content editable regions but do not give information about if there are images, links…
The screen reader helper in the editor generate a list of any any images or links in the text.
In the below screenshot the white text-box on the top-right is the information provided by the screen-reader according to the information in the editor….
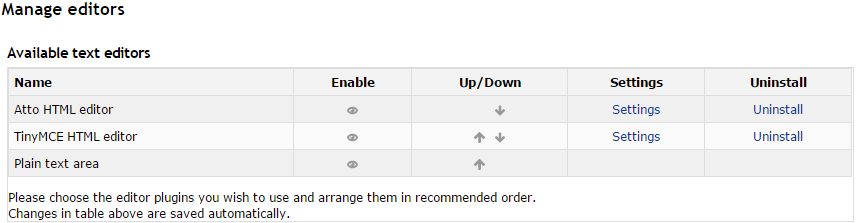
You need to go to Settings > Site administration > Plugins > Text editors > Manage editors. There you can choose the editor plugins you wish to use and arrange them in order.
If you want to add or delete buttons in lets say the “Atto HTML” editor you will need to do the following:
Click in settings to edit them:
Consider that…
The configuration consists of groups (one per line) followed by the ordered list of plugins for that group. The group is separated from the plugins with an equals sign and the plugins are separated with commas. The group names must be unique and should indicate what the buttons have in common. Button and group names should not be repeated and may only contain alphanumeric characters.
According to the above you will be able to add or delete button by adding the button name in the correct group.
For example, if we want to add the noautolink button we will need to add the word “noautolink” to the list as bellow…
Autoliking is a Moodle’s feature that automatically links (within a course) text typed in Moodle to:
Glossary activity entries
Database activity entries
Activity and resources names
Autolinking can be set at four different levels:
1. Site wide: it can be switched on/off by going to Settings > Site Administration > Plugins > Filters > Manage Filters.
Note: Applying filters to headings as well as content can greatly increase the load on your server.
2. Moodle courses: it can be managed within individual courses from Settings > Course Administration > Filters
Resources & Activities within a Moodle course: it can also be managed from within an activity or resource from Settings > [Activity name] Administration > Filters. Below is a videotutorial for turning off auto-linking to glossaries in a quiz.
Video uploaded to youtube by David Appleyard
Specific text : it’s possible to disable autoliking within activities and resources by highlighting the text and clicking on the Prevent automatic linking button (chain with a cross through it, see screenshot below).
Note: Alternatively, when going to the HTML in the editor you can add the <nolink> … </nolink> tags around the relevant content.

 If you need to download all course files (pdf, Microsoft office documents…) it could be helpful for you to know that a lot of people seems to be looking for a solution to that issue but there seems to be not a simple way to accomplish it.